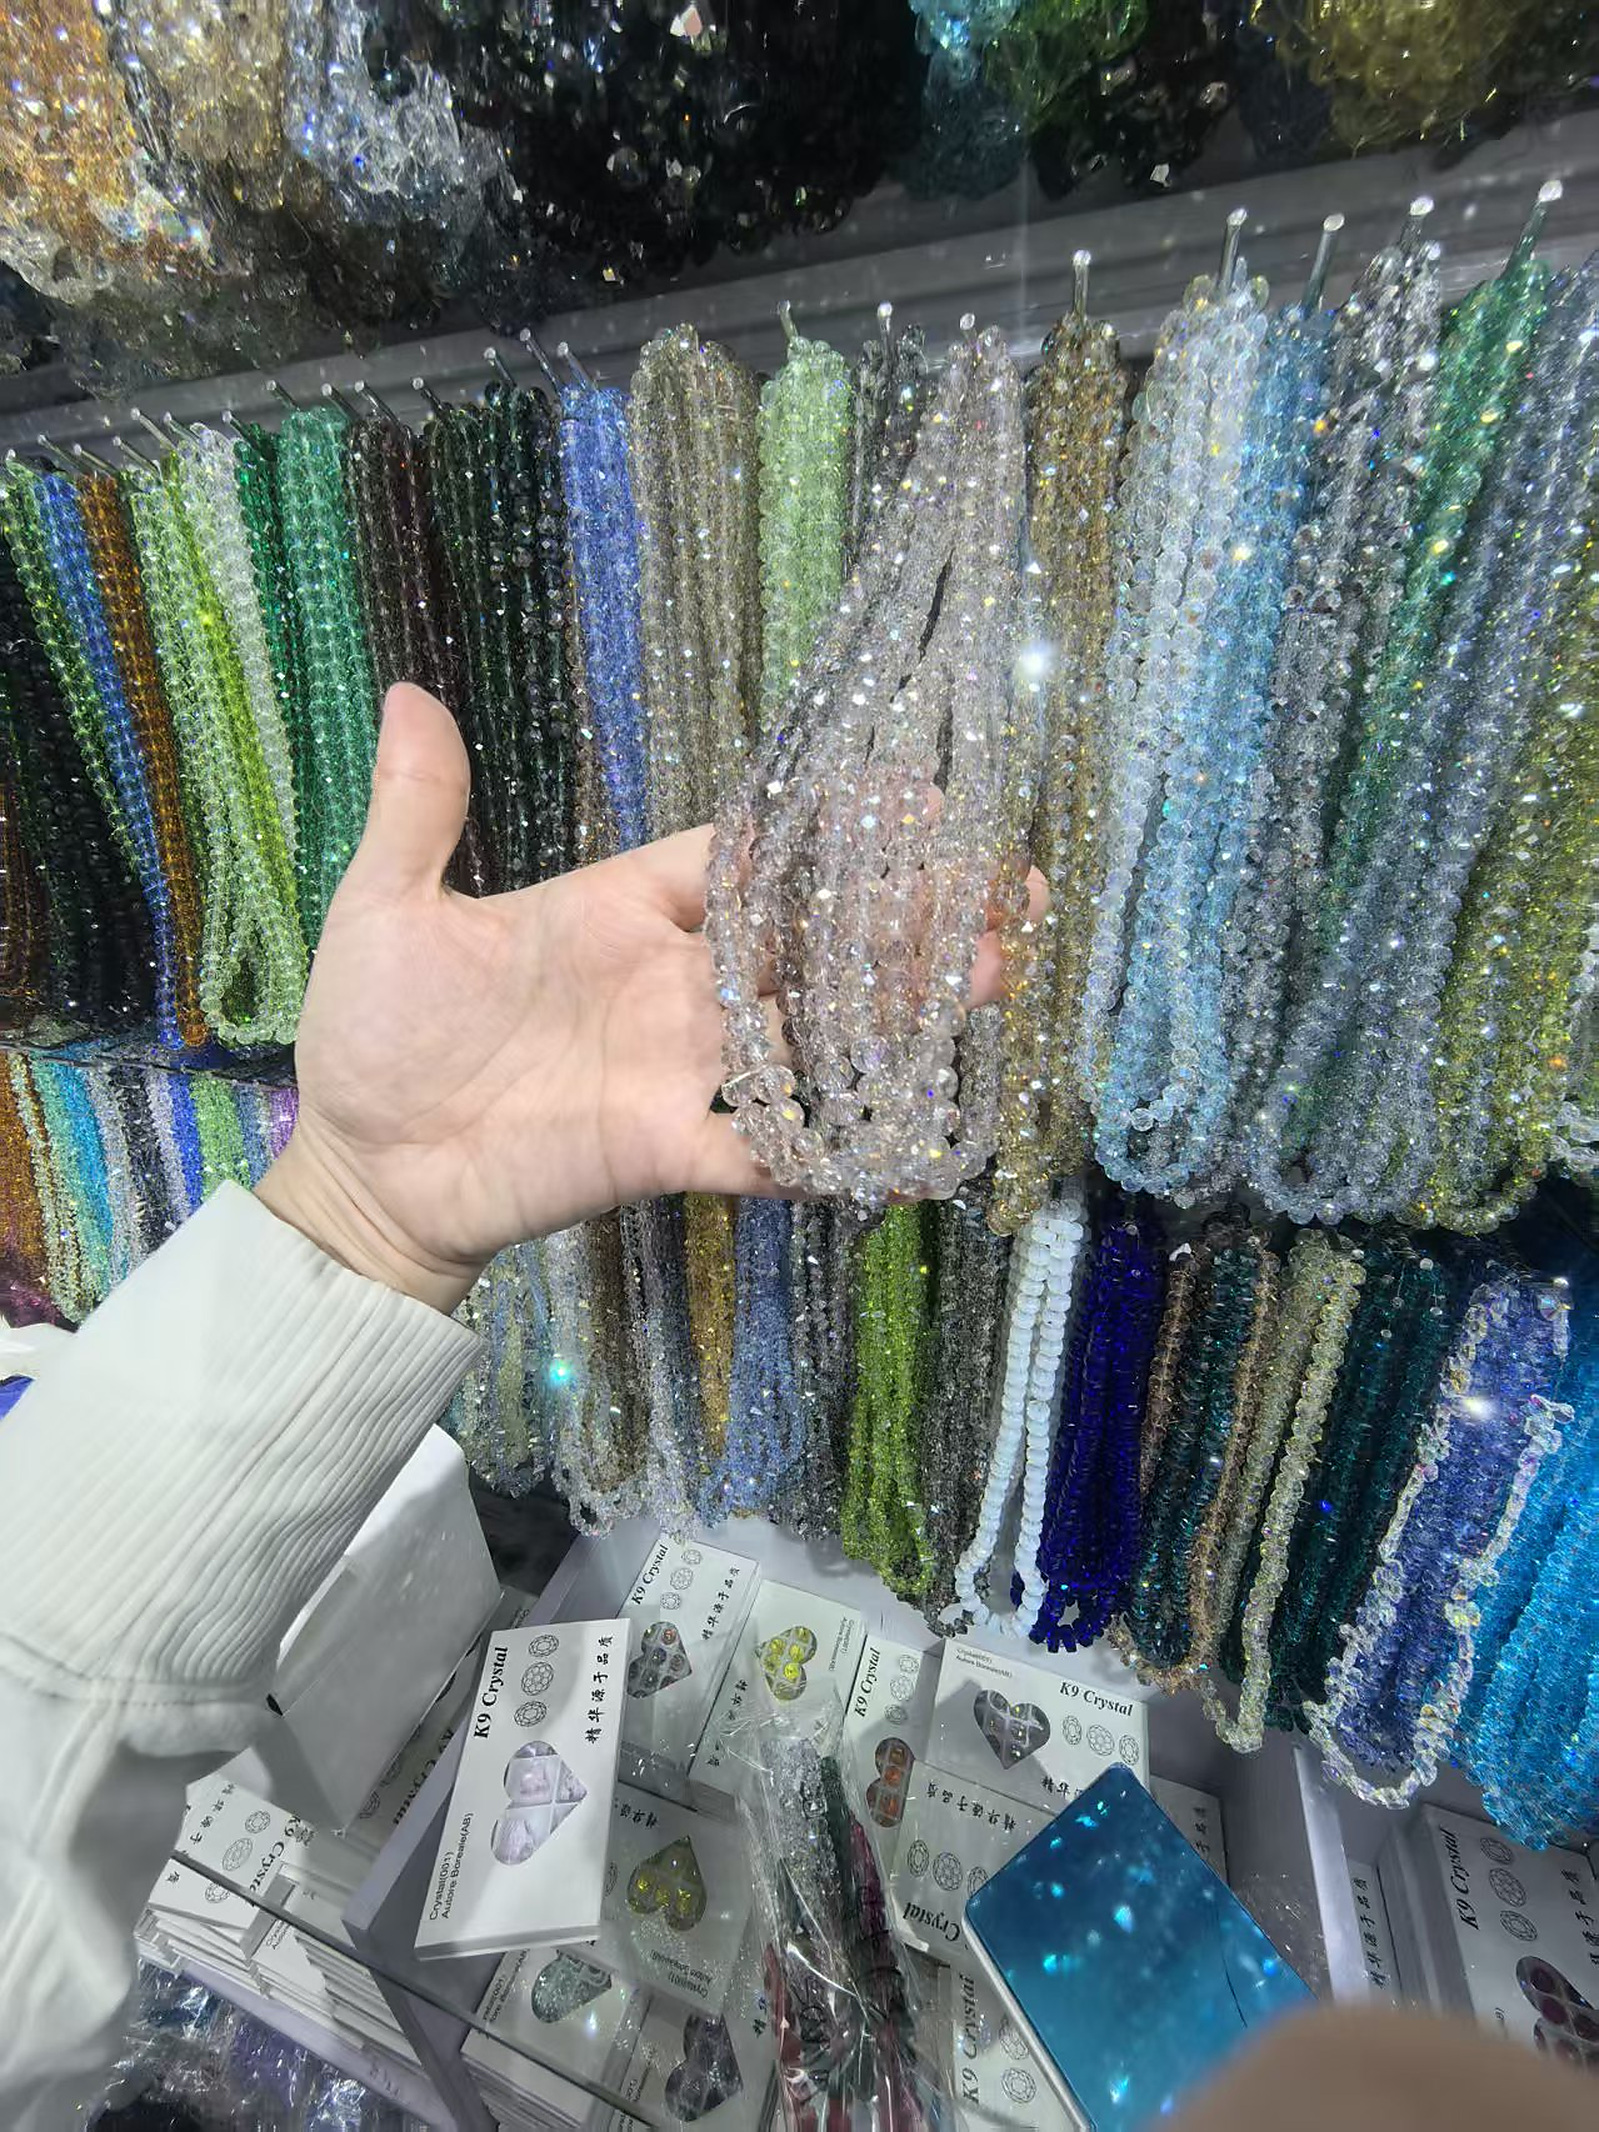
A DIY crystal bracelet is one of the most approachable ways to turn color, material and personal symbolism into wearable jewelry. A successful first project depends less on collecting many stones and more on four practical choices: accurate wrist measurement, compatible bead sizes, reliable stringing material and a clear design plan.
What should a beginner buy?
For one bracelet, start with a focused kit: one main bead strand, a small number of accent beads, quality elastic, a beading needle or collapsible-eye needle, scissors, bead stoppers and a flexible measuring tape. Optional findings should be clearly described by metal type. Avoid oversized mixed boxes with unidentified stones; they make quality and care difficult to judge.
Measure before choosing beads
Measure the wrist snugly at the point where the bracelet will sit. Add a comfort allowance based on the desired fit and bead diameter. Larger beads reduce the bracelet’s internal space, so a strand that looks long enough when flat may fit more tightly when assembled. Lay out the design and test it around a bracelet sizing cone or a soft measuring loop before tying the final knot.
Choose a bead size that fits your routine
- 4–6 mm: light, subtle and easy to stack.
- 8 mm: a common all-purpose size with visible color and manageable weight.
- 10–12 mm: bolder, heavier and more likely to interfere with sleeves or keyboards.
Check hole diameter as well as outer bead size. Elastic must pass through every bead, including metal spacers and charms, without being forced or frayed.
Build a simple color story
A dependable beginner formula is 70 percent main color, 20 percent supporting color and 10 percent accent. You can also create a five-part palette inspired by Wood, Fire, Earth, Metal and Water, or use one zodiac color as a starting point. Symbolism should guide the story, not override wearability. Lay the beads on a tray and photograph two or three versions before committing.
Check material facts before you buy
Ask whether the beads are natural, laboratory-created, dyed, heated, coated, stabilized, composite or glass. “Crystal” is used broadly in the market and does not always mean a natural mineral. Honest treatment disclosure is more important than a romantic product name. Ask for close-up photos, approximate bead diameter, hole size, strand length and expected natural variation.
String and finish carefully
- Pre-stretch elastic gently if the manufacturer recommends it.
- Use bead stoppers so the design cannot slide off the cord.
- Check the pattern and fit before tying.
- Use the knot recommended for the selected elastic and test it under light tension.
- If suitable for the cord, secure the knot with the manufacturer’s recommended jewelry adhesive and allow it to cure fully.
- Hide the knot inside a bead when the hole size permits.
Do not use household superglue without checking compatibility; some formulas make elastic brittle.
Care for a finished DIY bracelet
Roll the bracelet over the hand instead of stretching it sharply. Keep it away from perfume, cleaning products, bathing, swimming, prolonged sunlight and heavy exercise. Wipe with a dry soft cloth and inspect the elastic for fuzzing, thinning or looseness. Restring before it breaks.
Make the project personal, not medical
Add a charm, a meaningful color or a bead connected with a life event. Describe the bracelet as a reminder, gift or symbolic companion rather than a cure. If you want help choosing compatible beads, sizing a kit or creating a custom color palette, send the desired wrist size, bead size, colors and budget when requesting a quotation.
Need a personal DIY kit, small-shop assortment or boutique collection?
Share your preferred colors, bead sizes, quantity, packaging needs, destination country and target date. We will confirm current materials, treatment disclosure, MOQ, samples, lead time and quotation.
Request options on WhatsApp →